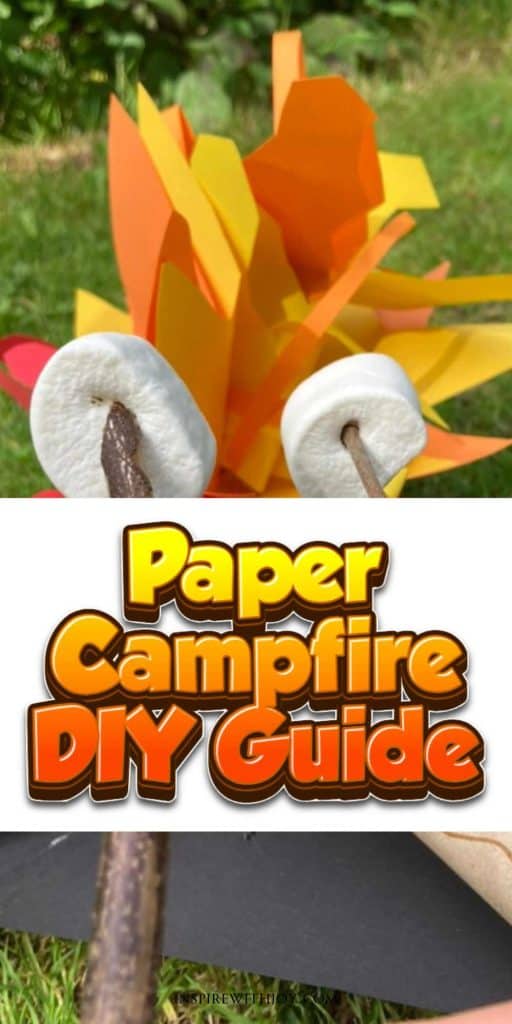
How to Make a Paper Campfire That Looks Real 🔥
There’s something magical about gathering around a campfire — the warm glow, the crackling sounds, and the stories that flow as easily as the hot cocoa in your cup. As a digital nomad family of four, with our 5-year-old son and 2-year-old daughter, we love camping adventures under the stars. But sometimes, the weather has other plans. That’s when we bring the camping magic indoors with a Paper Campfire. It’s one of those Camping Themed Crafts that’s just as fun to make as it is to play with afterward — and it works beautifully for homeschool activities, Bonfire Night Crafts, or rainy-day fun.

Today, I’ll show you exactly how to make a campfire out of paper that looks so real you might find yourself reaching for the marshmallows. This easy and safe project is perfect for Campfire Crafts For Kids, Fire Crafts For Kids, or even a classroom display. All you need are a few simple supplies, a splash of creativity, and a willingness to get a little crafty.

Paper Campfire
A paper campfire is one of those simple crafts that instantly feels magical. It’s bright, cozy, and perfect for rainy afternoons, pretend camping nights, or classroom fun. Best of all, it’s completely safe — no real flames, just imagination and a splash of color.
When we made ours, the kids got so into it they even started telling spooky (but silly) stories and roasting pretend marshmallows. The best part? It took less than half an hour from start to finish, and now it’s a favorite prop for their playtime.
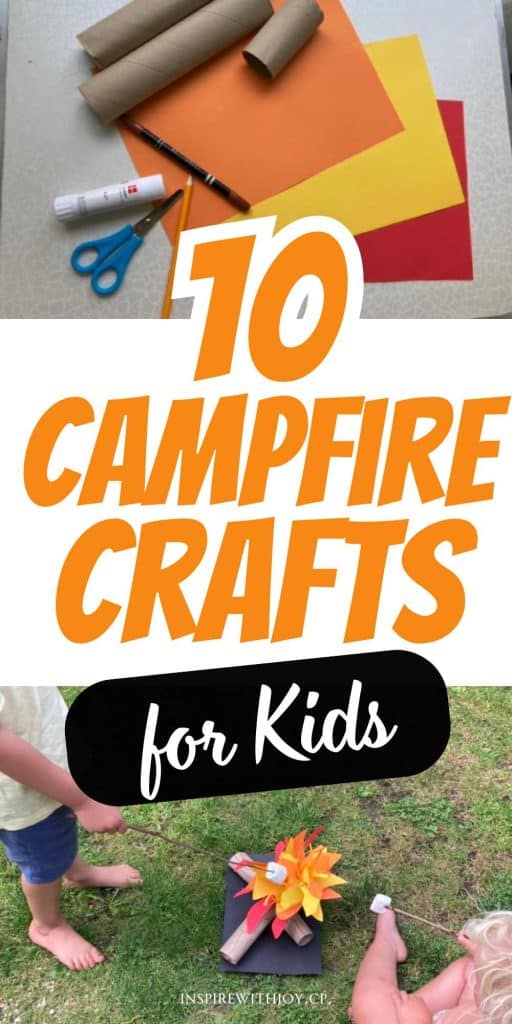
What You’ll Need
- 3 sheets of colored paper (red, orange, and yellow work best for flames)
- Brown paper or Toilet rolls for the logs
- Scissors
- Glue stick
- Brown marker for adding wood grain details
- Pencil for sketching flame shapes
- Optional: battery-operated tea light for a warm glow
A paper campfire isn’t just a craft — it’s the starting point for hours of imaginative play. Once your campfire is glowing, you can turn it into the heart of so many fun activities.
- Pretend S’mores – Use felt squares for chocolate, cotton pads for marshmallows, and brown paper for crackers. Stack them up and pretend you’re at a real campsite.
- Storytelling Circle – Gather around the campfire with cozy blankets and take turns telling silly, spooky, or adventurous stories.
- Campfire Songs – Sing classic camping songs together or make up your own campfire tunes.
- Marshmallow Roasting Game – Stick a cotton ball or a jumbo marshmallow on the end of a wooden skewer or safe stick, and “roast” it over your paper flames.
- Nature Learning – Use the campfire as part of a homeschool lesson on camping, wildlife, or fire safety.
- Party Centerpiece – Perfect for indoor camping-themed birthday parties or sleepovers.
From a quick rainy-day activity to a themed play date, your campfire can be the backdrop for countless adventures. Kids love that they helped make it — and they love it even more when the grown-ups join in on the fun.
How to Make a Campfire Out of Paper

Creating your own paper campfire is simple, fun, and perfect for all ages. Here’s how to do it, step-by-step.
Step 1 – Gather Your Materials

You’ll need:
- 3 sheets of colored paper (red, orange, yellow)
- Brown paper or Toilet rolls for the logs
- Scissors
- Glue stick
- Brown marker
- Pencil
- Optional: battery-operated tea light for extra glow
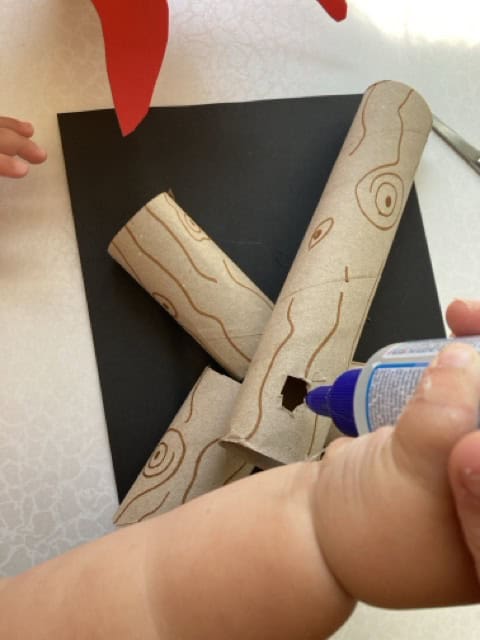
Step 2 – Prepare the Logs

Take one cardboard tube and cut it in half so you have two smaller pieces. Repeat with any additional tubes if needed.
Step 3 – Add Wood Grain Details

Using your brown marker, draw swirls, rings, and lines to make the cardboard look like real logs. This simple detail makes your campfire extra charming.
Step 4 – Arrange the Logs

Lay your “logs” on a flat sheet of black paper (or any sturdy base).
Step 5 – Glue the Logs in Place

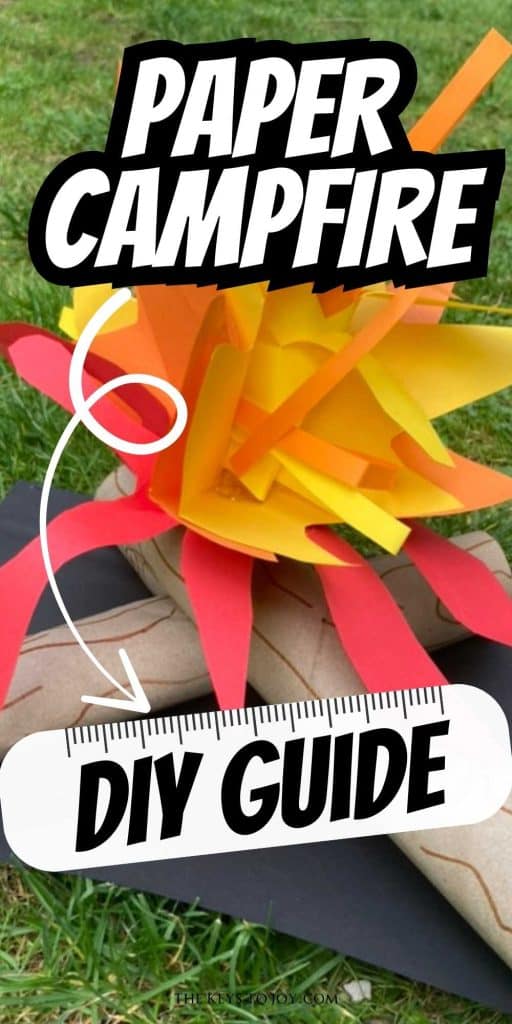
Glue two or three logs together in a crisscross pattern, just like a real campfire.
Step 6 – Draw the Flames

On your first sheet of colored paper (red works best for the base layer), draw flame shapes with a pencil. Think tall, pointed edges with some curves for a natural look.
Step 7 – Cut Out the Flames

Carefully cut along the lines to create your flame shape.
Step 8 – Shape the Flames

Fold your flame shape slightly to give it a 3D effect. This helps the “fire” look like it’s moving.
Step 9 – Add Folds for Dimension

Fold along the center and at various points to give the flames more texture and depth.
Step 10 – Repeat with Yellow Paper

Draw and cut out a slightly smaller flame shape from yellow paper. This will layer beautifully with the red base for a realistic look.
Step 11 – Create the Orange Flames

Cut a flame shape from orange paper, similar in style to the red and yellow flames, and fold for dimension.
Step 12 – Layer the Flames Together
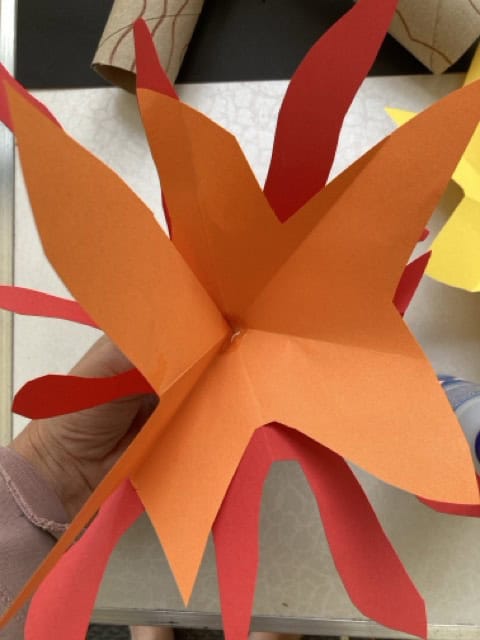
Glue the orange flame piece inside the red flame layer so they overlap and look like dancing fire.
Step 13 – Add the Yellow Layer
Glue the yellow flame piece in the center, layering it with the orange and red for a realistic gradient effect.
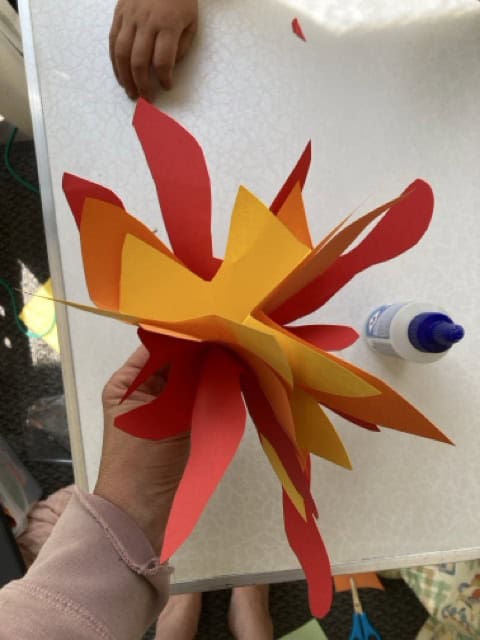
Step 14 – Assemble the Flame Cluster
Glue all three flame layers together, making sure each color is visible from every side.
Step 15 – Prepare the Log Base for Flames

Add glue to the center of your cardboard log arrangement so the flames can be secured firmly in place.
Step 16 – Attach the Flame Cluster to the Logs
Press the flame arrangement into the glued spot between the logs and hold until set.
Step 17 – Prepare Additional Flame Shapes
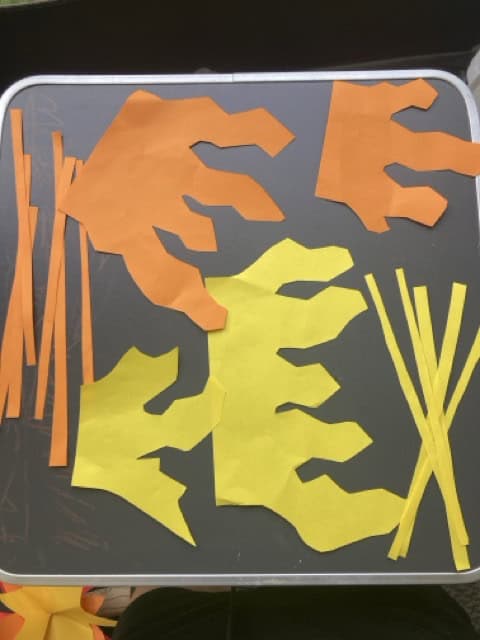
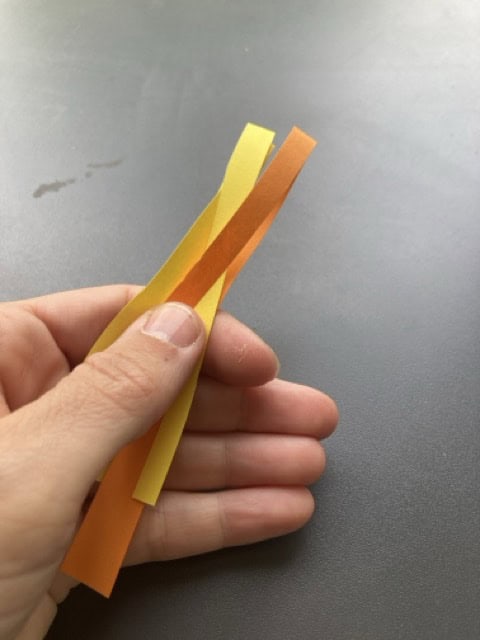
Cut smaller flame pieces and thin strips from yellow and orange paper. These will add texture and movement.
Step 18 – Shape the Extra Flames
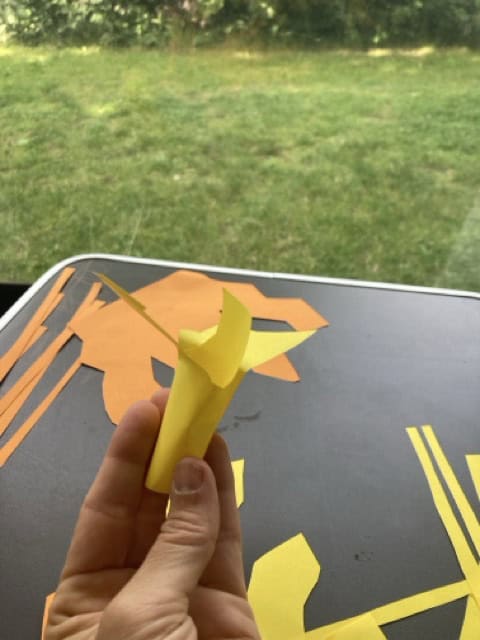
Gently curl the smaller pieces by rolling them around a pencil, giving them a lifelike flicker.
Step 19 – Add the Extra Flames

Glue the curled flames around the main flame cluster, filling in any gaps for a fuller look.
Step 20 – Add the Final Touches
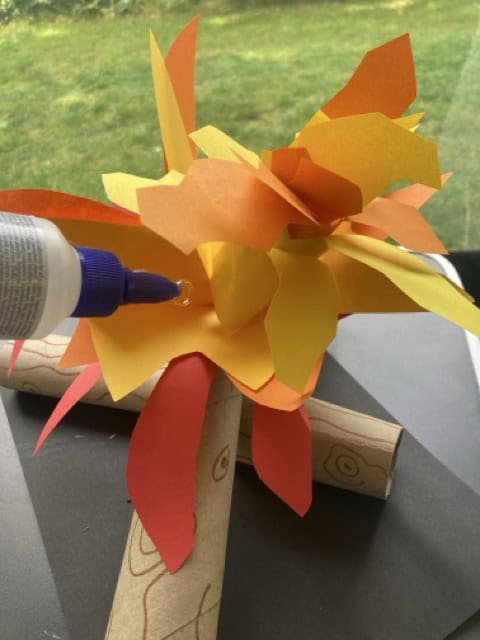
Layer a few thin strips at the top for that wispy, glowing effect — now your paper campfire is ready to shine!
Step 21 – Fluff and Adjust the Flames

Once all the layers and curled strips are in place, gently spread out the paper flames with your fingers. Adjust them until they look full and lively, just like a real fire. This final touch gives your paper campfire its warm, glowing look.
10 Fun Campfire Crafts for Kids
1. Paper Campfire (full instructions above)
Bring the magic of camping indoors with a bright, layered paper campfire.
How to make it:
- Roll brown paper or cardboard tubes into logs and decorate with wood grain lines.
- Cut flame shapes from red, orange, and yellow paper.
- Layer the flames together and glue them between the logs.
- Optional: place a battery-operated tea light in the center for a realistic glow.
2. Campfire Handprint Art
Turn little hands into a beautiful burst of flames.
How to make it:
- Paint one hand red and press onto paper.
- Repeat with orange and yellow, overlapping the prints to look like fire.
- Add two painted popsicle sticks or brown paper strips as logs at the bottom.
3. Campfire in a Jar
A magical glowing campfire you can hold in your hands.
How to make it:
- Fill a mason jar with small twigs or popsicle sticks.
- Add scrunched-up red, orange, and yellow tissue paper for flames.
- Place battery-operated fairy lights inside for a soft campfire glow.
4. Campfire Rock Painting
Perfect for outdoor play or garden decoration.
How to make it:
- Collect smooth rocks.
- Paint some brown for logs, and others with flame designs.
- Arrange them in a circle to form a mini rock campfire.
5. Felt Campfire Play Set
A soft and reusable craft for hours of pretend play.
How to make it:
- Cut felt pieces into flame shapes (red, orange, yellow) and log shapes (brown).
- Sew or glue the flames together in layers.
- Sew or glue the logs into a crisscross pattern and attach the flames on top.
6. Popsicle Stick Campfire
Quick, budget-friendly, and great for younger kids.
How to make it:
- Glue popsicle sticks into an X shape for the logs.
- Glue red, orange, and yellow tissue paper flames to the center.
- Optional: add small marshmallow props on toothpicks for extra fun.
7. Campfire Collage
Let kids get creative with scraps and textures.
How to make it:
- Cut out small pieces of red, orange, and yellow paper, fabric, or magazine clippings.
- Arrange them into a flame shape on cardstock.
- Add strips of brown paper or real twigs for logs.
8. Campfire Toilet Roll Craft
An eco-friendly way to make a campfire.
How to make it:
- Paint or color toilet paper rolls brown.
- Stack them in a crisscross shape for logs.
- Add tissue paper flames poking out from the top.
9. Edible Campfire Snack
A tasty treat that doubles as a craft.
How to make it:
- Stack pretzel sticks in a crisscross shape for logs.
- Add gummy candy in red, orange, and yellow for flames.
- Optional: place a mini marshmallow on top for “roasting.”
10. Campfire Shadow Box
Create a mini 3D camping scene inside a box.
How to make it:
- Use a small cardboard box as your stage.
- Make paper logs and tissue paper flames for the campfire.
- Add paper trees, campers, or even a moon in the background for a complete scene.
Keep the Campfire Magic Going 🔥
From colorful paper flames to tasty edible campfires, these crafts prove that the magic of sitting around a fire isn’t just for the outdoors. Whether you’re crafting on a rainy afternoon, planning a camping-themed party, or looking for a fun homeschool activity, these ideas will spark creativity and connection for the whole family.
If you loved these campfire crafts, you might also enjoy:
- 🎃 Easy Halloween Lantern DIY Ideas You Can Totally Make 👻
- The Skillet Cookie That Changed Our Campfire Nights
- Camping Meals Kids Love—No Complaints, Just Happy Faces 😊
✨ Save this pin now so you’ll always have these cozy campfire ideas ready for your next crafting day. Gather your supplies, invite the kids, and let the sparks of imagination fly!